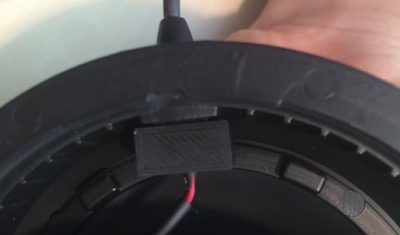
We decided to add MMCX female connectors to our T5p headphones to allow for easy cable replacement / upgrade with any MMCX male cables.
First, remove the original cables.
MMCX female connectors
I got these connectors in Japan, but I was able to find them on Google too.
Push in the connector into the 3D printed parts.
You can download the files for the parts we 3D printed here.
The parts were a perfect fit when printed on our 3D printer, but it may defer depending on the 3D printer.
Then I cut the original cable to create two short cables and soldered them onto the connectors.
The middle prong is for the red wire, and then as for the outside prongs, you can pick one for the ground. After they're connected, you can secure them in place with some hot glue.
In the picture below, the cover parts are put on, but those can not be on when you insert the part into the headphones in the next step.
Then insert this part from the outside of the original cable hole.
You can download the files for the parts we 3D printed here.
The parts were a perfect fit when printed on our 3D printer, but it may defer depending on the 3D printer.
Then I cut the original cable to create two short cables and soldered them onto the connectors.
The middle prong is for the red wire, and then as for the outside prongs, you can pick one for the ground. After they're connected, you can secure them in place with some hot glue.
Solder the cables onto the unit.
Put on the cover to lock the part in place.
The cover will go on as pictured below.
Here are videos showing the process of the installation.
Hope this helps!


Comments
Post a Comment